Ecomaps
How to digitize a paper ecomap with AI in three minutes
Quick answer
Why bother digitizing?
- Comparability. A digital ecomap from week 1 can be diffed against week 12 to show changes in the support network. Paper makes that comparison nearly impossible.
- Sharing. Case notes get attached to the record; paper has to be scanned anyway. Skip the scanner step.
- Searchability. Across a caseload of 30, you can’t grep paper for “who has a strong tie to a faith community?”
- Editing. The next time a system changes (new prescriber, lost job, sponsor relapse), you don’t redraw the whole page.
The three-minute workflow
- 1
Take a clean photo
Lay the paper ecomap flat under good light. Shoot straight down. The AI handles minor tilt but doesn't love a hand-curled page at an angle. - 2
Open the importer
On the dashboard, choose Start New, open the Ecomap tab and pick the 'Import with AI' card (Professional or Clinical plan). - 3
Drop the file
Drag the photo onto the upload zone or click to pick. PNG, JPG, WebP, or AVIF up to 12 MB. The popup shows a preview before you commit. - 4
Wait 5–15 seconds
The AI reads the center label, surrounding system labels, line styles (thick / dashed / zig-zag / jagged), and arrowheads. Progress copy updates as it works. - 5
Spot-check the result
The canvas loads with everything categorized and auto-arranged in a Hartman ring. Skim the system labels for OCR errors — typos in handwriting are the most common miss. - 6
Refine in the AI sidebar
Use the AI chat sidebar to fix anything subtle ("make the line to my mother strongly stressful"). Or just edit in the inspector directly.
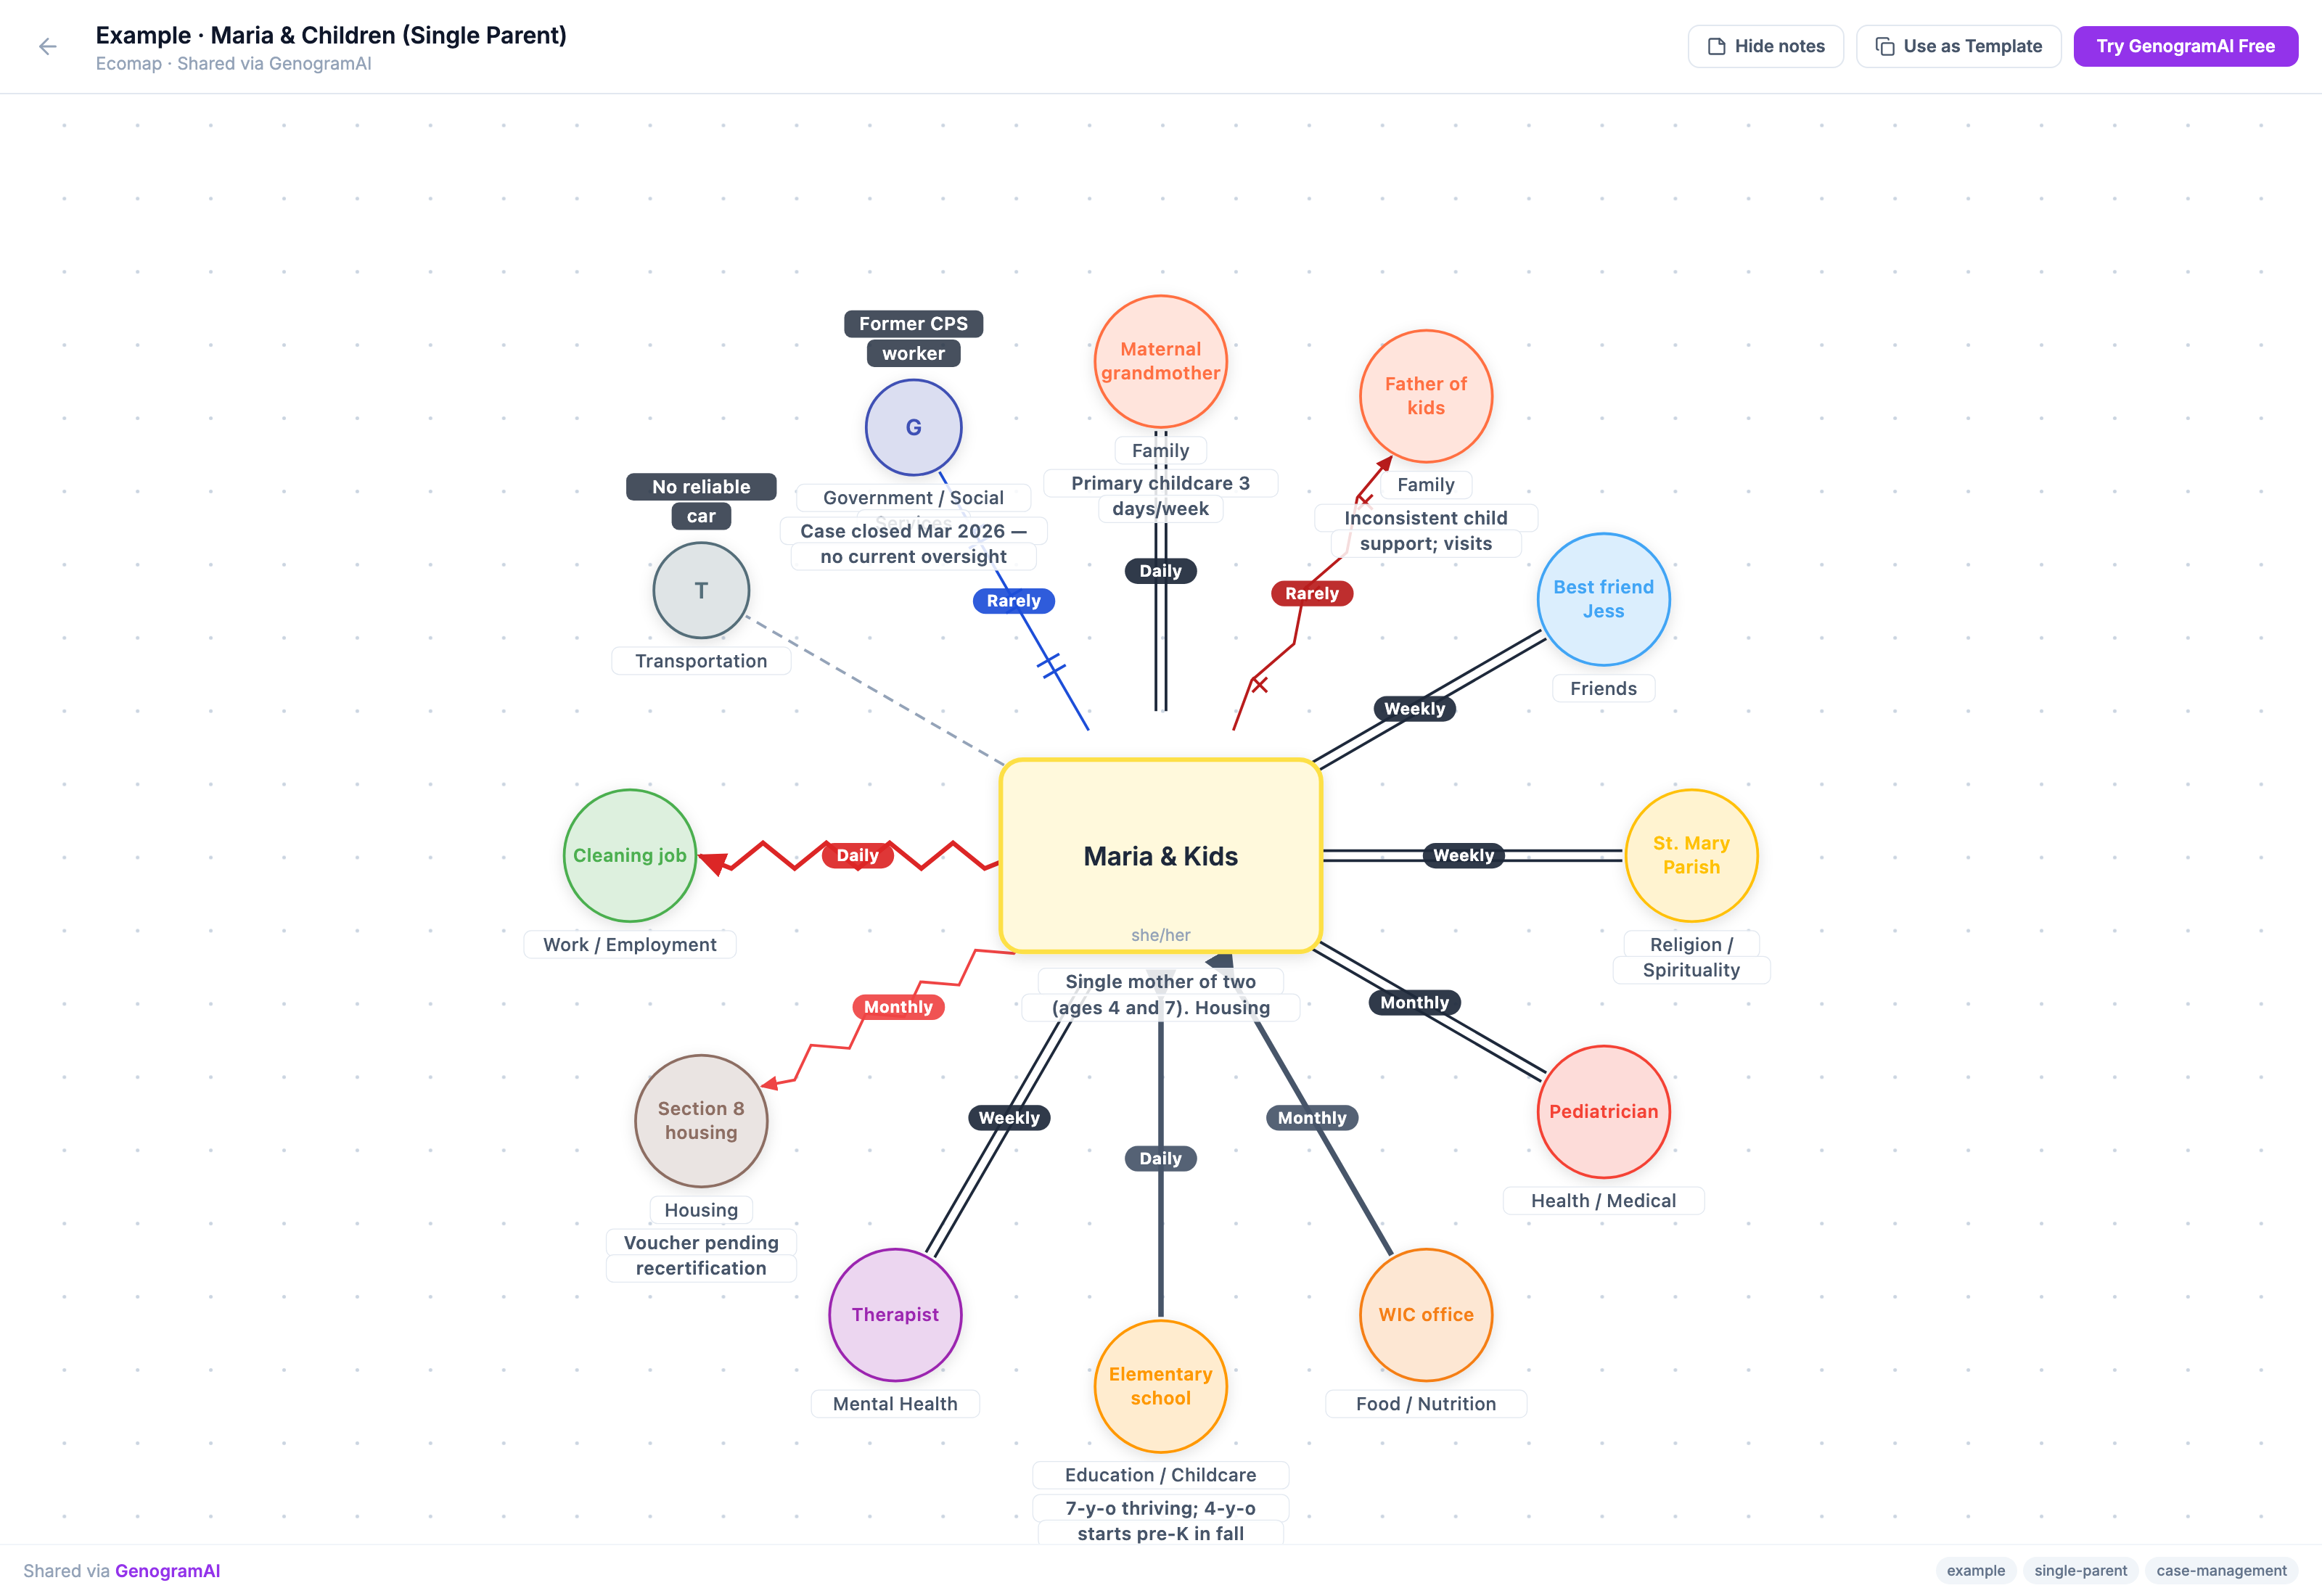
What the AI does well
- Center identification. The bubble in the middle, even when hand-drawn. Pulls out a label if it’s readable.
- System labels. OCR on clearly-written words is reliable. Multi-word labels (“Counselor Mr. Z”, “School & Class Teachers”) come through intact most of the time.
- Line styles. Thick, dashed, zig-zag, and broken read distinctly. The AI reads standard Hartman line styles.
- Categorization. “Therapist” gets categorized as Mental health; “mom” goes to Family; “AA” lands in Recovery. Generally sensible defaults.
Where it’ll occasionally trip
- Cursive or rushed handwriting. OCR is good but not perfect. Expect a few misreads.
- Zig-zag vs jagged. “Stressful” (lightning zig-zag) vs “conflictual” (hash marks on a solid line) sometimes get confused at low resolution. A 5-second visual sweep catches these.
- System-to-system edges. Most ecomaps are center-spoked, but if yours has lateral edges (system ↔ system), the AI occasionally misses them. Add manually in seconds.
- Annotation boxes. Some templates have text boxes off to the side with case notes. These can get pulled in as “systems” with weird labels. Just delete them.
HIPAA and the photo question
- Pre-anonymize the paper with a black marker over names before photographing. Lowest-tech option, and the only one that keeps names out of the uploaded image.
- Use Clinical Mode (Clinical plan). The image still contains the name and is sent as uploaded, but the canvas it produces is stored on your device with zero-knowledge encryption, and any subsequent AI calls strip identifying info. Combined with a marker over names, this is the right path for HIPAA-conscious workflows.
Bottom line
Drawing on paper during intake is fine. Re-drawing in the case-management software afterward is the part that’s a tax on your time. Five seconds with a phone camera + 10 seconds in the importer = the canvas is in your library, editable, ready to attach to the case file. After a week of doing this you’ll wonder why you ever retyped a system label by hand.
Related reading: the image-import landing page, Clinical Mode details, recovery workflow.
Try it
Frequently asked questions
Is importing a paper ecomap free?
No. AI image import is part of the Professional ($12/month) and Clinical ($29/month) plans. On the Free plan you can build ecomaps by hand or from a typed description using your 5 monthly AI credits, which are shared with genograms.
What image files can I upload?
Clear photos, scans or screenshots of hand-drawn or printed ecomaps: PNG, JPG, WebP or AVIF, up to 12 MB. A flat, well-lit shot reads better than a curled page at an angle.
Are names in the photo removed before the AI reads it?
No. Text inside images is not automatically redacted, so the image is sent as uploaded. Cover real names with a marker before photographing. On the Clinical plan, the resulting ecomap is then stored on your device with zero-knowledge encryption.