Printing & Saving as PDF
Print your genogram, save it as a PDF for free, or export a dedicated PDF in any paper size with Pro.
The quickest way to get a PDF on any plan: open the File menu (GenogramAI logo, top left), choose Export > Print… (or press Cmd/Ctrl + P), click Print, and pick Save as PDF as the printer in your browser's print dialog.
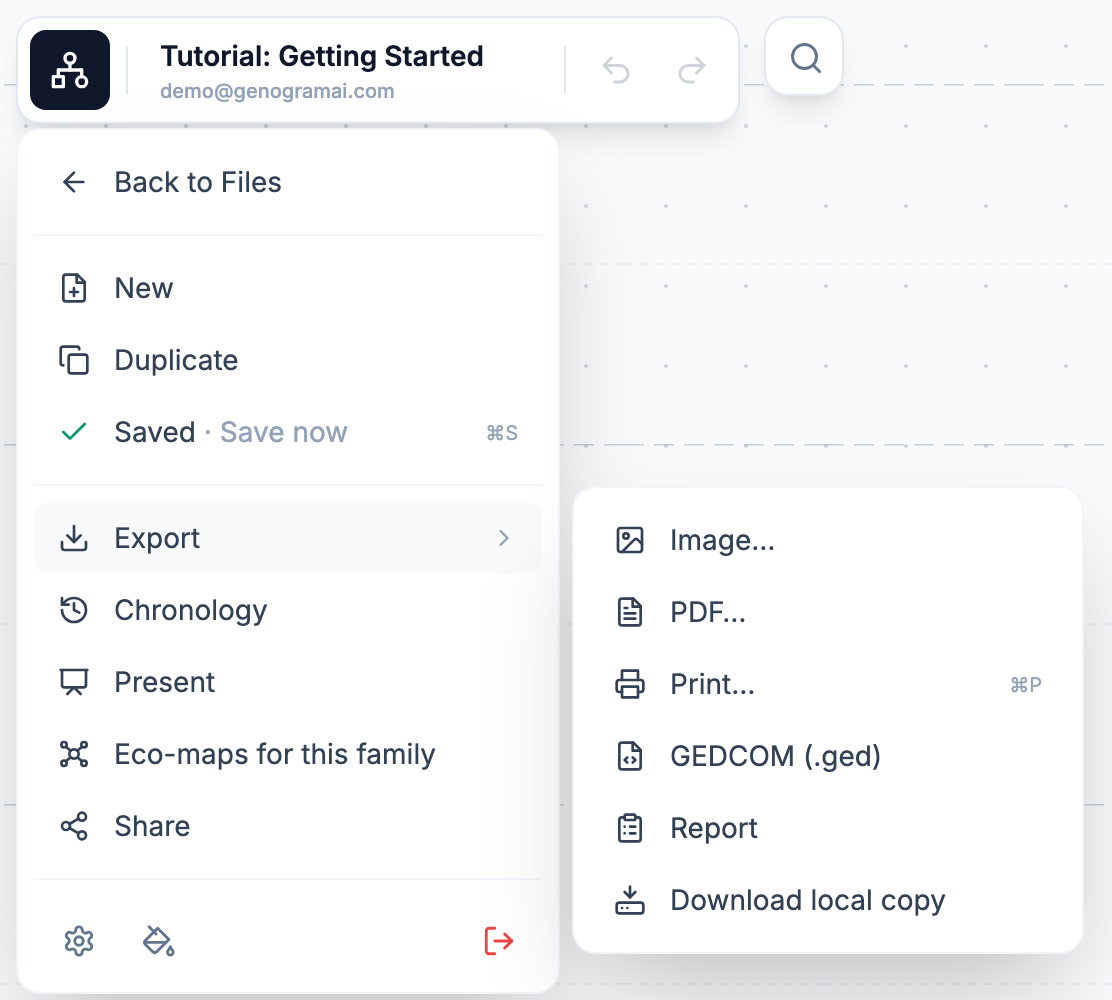
Print (free on every plan)
- Open the File menu and choose Export > Print…, or press Cmd + P (Mac) / Ctrl + P (Windows) anywhere in the editor.
- In the Print window, choose the paper size (Letter, Legal, A4, Tabloid or A3) and Landscape or Portrait. Wide families usually fit best in landscape.
- Set the chart options, for example Integrated key so the key prints with the genogram, and Hide grid dots.
- Check the preview (scroll to zoom, drag to pan, Fit All to frame everyone), then click Print.
- Your computer's print dialog opens. Choose a printer, or choose Save as PDF to get a PDF file.
Export PDF (Pro)
PDF… (File menu > Export) builds the PDF file directly, without the print dialog. It adds:
- Large and poster sizes: Poster 18 x 24 in, A2, Poster 24 x 36 in, A1, Poster 36 x 48 in, and A0, for a print shop or plotter.
- Print at home for poster sizes: tile the poster across Letter or A4 sheets with trim marks, a small overlap, and an assembly guide.
- Pro background colors and the Anonymize, Hide date and Hide branding switches.
On the Free plan you can still open the PDF export, set every option, and see the preview; the button at the bottom reads Upgrade to Pro to export PDF.
Making a big genogram print larger
The Print and Export as PDF windows show a Text size row with how big the names will print (Readable at 8 pt or more). When the chart is too big for the paper, a Layout choice appears: Fit to one larger page, Tile across pages (several sheets with trim marks and an assembly guide; the default for Print) or One-page overview (everything on one sheet, small text, labelled Overview). You can also choose a bigger paper size (Tabloid or A3), switch to Landscape, or zoom the preview in to print just one branch. With Pro, Export PDF offers poster sizes up to A0, and for a poster size Print at home can Tile across Letter sheets or Tile across A4 sheets. There is no scale or zoom-percentage setting. See Export Problems for more fixes.
Emailing your genogram or adding it to a document
- Email: save a PDF (above) or a PNG with Export > Image…, then attach the file to your email. Or send a view-only link with Share.
- Word or Google Docs: export a PNG and insert it as a picture. See Exporting as an image.
Key missing from the printout?
The floating key prints only if it is showing on the canvas. Turn on Integrated key in the Print or Export window for a compact key at the bottom of the page.